
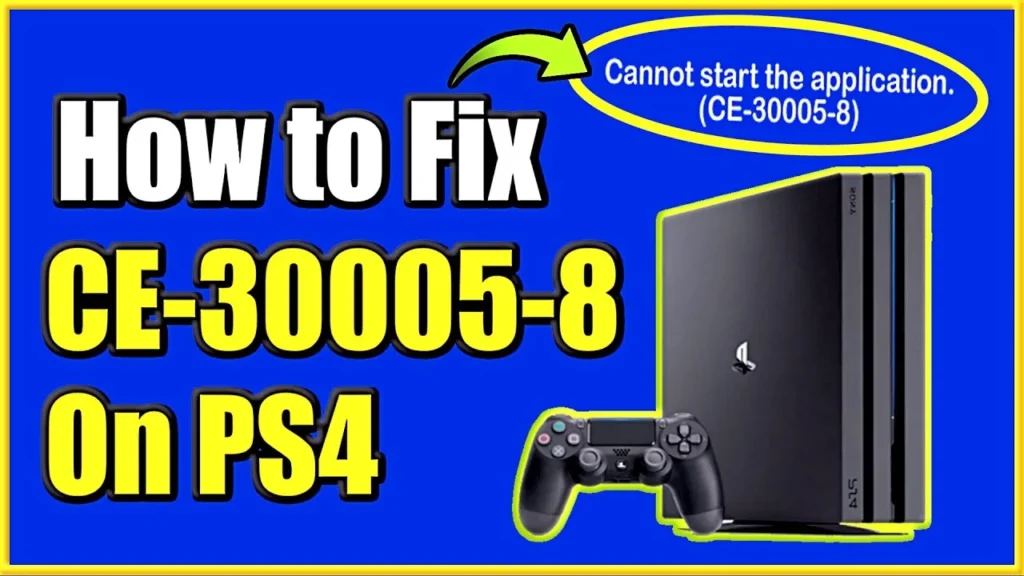
What “Cannot Start the Application” (CE-30005-8) Means on PS4 & How to Fix It
PS4 error code CE-30005-8 indicates a hardware or filesystem input/output (I/O) read failure: the console’s operating system (Orbis OS) cannot retrieve required application data from either the internal 2.5-inch Hard Disk Drive (HDD) or the optical Blu-ray Disc (BD) drive.
When launching or installing a title, the Southbridge controller requests file streams over the SATA bus (for digital/installed assets) or the BD drive controller (for optical disc authentication and caching). If read requests repeatedly encounter unreadable media sectors, timeout after sector-seek retries, or fail hash verification, the system halts execution and displays: “Cannot start the application. (CE-30005-8)”.
Quick Diagnostic Matrix
| Symptom | Root Cause | Diagnostic Test | Recommended Fix |
| Error occurs on a physical disc; digital games launch fine | Surface scratches, finger oils, or micro-fractures on the Blu-ray disc | Visual check under direct halogen/LED light | Clean disc with a microfiber cloth from center out; resurface or replace disc. |
| Error occurs across all physical discs (reads DVDs, fails BDs) | Failing 405 nm blue-violet laser diode or dust on the optical pickup lens | Test standard DVD movie vs. PS4 Blu-ray game | Clean optical pickup lens with 99% IPA; replace the KES-490A / KES-496A laser sled. |
| Error occurs on digital games or during disc install to HDD | Corrupted SQLite game database indexing or fragmented system records | Safe Mode navigation test | Run Rebuild Database (Option 5 in Safe Mode). |
| Error 30005-8 appears at specific install percentages (e.g., 45%) | Bad Logical Block Addressing (LBA) sectors on the internal 2.5″ HDD | Listen for repetitive mechanical clicks | Delete partially installed data; replace internal drive with a 2.5″ SATA SSD. |
| Console boots slowly, stutters in menu, throws CE-30005-8 | Mechanical head crash or failing read/write pre-amp on stock mechanical drive | S.M.A.R.T. test on PC | Replace internal mechanical HDD with a 2.5″ SATA SSD and reinstall system software. |
1. Disc-Based Triage (Optical Media & Drive Mechanism)
If the error appears exclusively when attempting to boot or copy a physical disc, the optical drive cannot decode the track pits on the dual-layer Blu-ray disc ($50text{ GB}$).
[Blu-ray Laser Pickup Architecture]
 ┌────────────────────────────────────────────────────────┐
 │ Optical Disc Spindle Motor                             │
 │   ┌────────────────────────────────────────────────┐   │
 │   │ [============= Dual-Layer BD-ROM ============] │   │
 │   └───────────────────────┬────────────────────────┘   │
 └───────────────────────────┼────────────────────────────┘
                             ▲
              ┌──────────────┴──────────────┐
              │ KES-490A / KES-496A Laser   │ <── 405nm Blue Laser Diode
              │ (Focusing Coil / Lens)      │     (If clouded: Fails Handshake)
              └─────────────────────────────┘
Perform a Radial Disc Cleaning:
Modern Blu-ray discs use a protective hard-coat resin (Durabis), but light surface smudges or micro-oil films readily disperse the $405text{ nm}$ blue laser beam.
Take a clean, dry lint-free microfiber cloth.
Wipe the underside of the disc radially (in straight lines moving straight from the center spindle hole out to the outer edge). Never wipe in circular motions, which create arc scratches parallel to the data tracks.
If grease or residue is present, dampen the cloth with warm water and mild dish soap, rinse, and dry completely.
Inspect the Dual-Diode Test (DVD vs. BD):
The PS4 optical drive contains two separate laser diodes: an infrared/red laser for standard DVDs and CDs, and a blue-violet laser for high-density Blu-ray discs.
Insert a standard movie DVD into the PS4:
If the DVD plays normally but all PS4 game discs throw CE-30005-8: The drive’s mechanical loading mechanism is healthy, but the $405text{ nm}$ blue-violet laser diode has burned out or its focusing prism is dirty.
If no discs spin or feed: The optical drive feed roller, drive fuse on the motherboard (F6201/F6202), or the BD daughterboard has failed.
2. Rebuild the PS4 System Database via Safe Mode
A crash during background patch downloads, power cuts, or improper shutdowns often leaves orphan files in the console’s internal SQLite database. Rebuilding the database scans the drive structure and compiles a fresh operational index of all titles without deleting user saves, games, or media.
[PS4 Safe Mode Boot Flow]
 1. Power console completely OFF (No orange Rest Mode light).
 2. Press & hold front [Power Button].
 3. Listen for First Beep ────────► (Immediate upon touch)
 4. Continue holding for 7 seconds ──► Second Beep sounds!
 5. Release button ──────────────► Connect DualShock 4 via USB cable
 6. Select: Option 5 [Rebuild Database]
Turn off the PS4 by holding the front power button until the unit beeps and powers down completely (confirm the LED light strip is fully unlit, not solid orange).
Press and hold the physical Power button.
You will hear an initial beep immediately; continue holding for approximately 7 seconds until you hear a second beep, then release.
The console will display a black screen prompting you to connect the DualShock 4 controller using a USB data cable and press the PS button.
In the Safe Mode menu, navigate down to 5. Rebuild Database and press X.
Select OK to confirm. The console will reboot, display the PlayStation logo, and show an estimated time remaining bar. This process can take anywhere from 5 minutes to 3 hours depending on internal storage capacity.
3. Delete and Purge Corrupted Application Files
If Error CE-30005-8 occurs repeatedly on a single specific title (digital or physical), the installation container or its respective patch file (.pkg) was written onto a sector that failed write-verification, leaving a broken executable payload.
[PS4 Dashboard Navigation]
 └── Settings > Storage > System Storage > Applications
      └── Highlight Problem Title > Press [Options] Button
           └── Select "Delete" ──► Confirm Removal
Highlight the affected game on the PS4 Home Screen or inside the Library.
Press the Options button on your controller, select Delete, and confirm.
Remove associated download fragments:
Go to Notifications > Downloads.
If any update file or download for the game is listed (often marked with an exclamation point or “Cannot download”), highlight it, press Options, and select Delete.
Clear the internal application cache:
Power down the console.
Unplug the AC power cord from the back of the PS4 for 60 seconds. This discharges the dynamic RAM cache and forces the operating system to drop suspended memory allocations.
Reinsert the game disc or redownload the digital title from the PlayStation Store. Allow the initial core payload to install fully before starting the game.
4. Test and Replace the Internal Hard Drive (HDD)
If CE-30005-8 appears across multiple digital games, or if the system stalls during database rebuilds, the stock mechanical hard drive (typically an aged 5400 RPM HGST, Seagate, or Toshiba 2.5-inch drive) is suffering from magnetic surface breakdown, head stiction, or dead LBA blocks.
[PS4 Drive Tray Assembly]
 ┌────────────────────────────────────────────────────────┐
 │ Plastic Chassis Cover Slide / Unlatch                  │
 │   ┌──────────────────────────┐                         │
 │   │ 2.5" Drive Mounting Caddy│ <── Secured by 1x Large Phillips screw │
 │   │ (SATA Data & Power Rail) │     (Engraved with △◯✕▢ symbols)│
 │   └──────────────────────────┘                         │
 └────────────────────────────────────────────────────────┘
Step A: Verify HDD Health on a PC (Optional Diagnostic)
Slide off the hard drive bay cover (on the PS4 Fat: slide the glossy top left panel; on Slim/Pro: unclip the rear plastic corner tab).
Remove the single large Phillips retaining screw (marked with the PlayStation controller face button symbols) and pull the drive sled out.
Connect the drive to a PC via an external SATA-to-USB dock or internal SATA cable.
Launch CrystalDiskInfo:
If the health status displays Caution or Bad with elevated counts on ID 05 (Reallocated Sectors), ID C5 (Current Pending Sectors), or ID C6 (Uncorrectable Sectors), the hard drive is physically failing and must be replaced.
Step B: Install a Replacement 2.5-inch SATA SSD
Replacing the factory mechanical HDD with a modern 2.5-inch SATA III Solid State Drive (SSD) (such as a Crucial MX500, Samsung 870 EVO, or Western Digital Blue) permanently resolves storage-side CE-30005-8 errors while cutting OS boot and game load times substantially.
[USB Installation Drive Setup (Must be FAT32 or exFAT)]
 USB Flash Drive (< 32GB)
  └── PS4 (Folder)
       └── UPDATE (Folder)
            └── PS4UPDATE.PUP (~1.1 GB Complete Recovery File, NOT standard update)
Mount the new 2.5″ SSD into the metal sled using the four side screws. Reinsert the sled into the console and secure the main retaining screw.
Prepare a USB flash drive (formatted to FAT32 or exFAT).
On the USB drive, create a folder named
PS4. Inside that folder, create a subfolder namedUPDATE.Download the PS4 Complete System Software Reinstallation File directly from the official PlayStation website (verify file size is approximately 1 GB to 1.1 GB, not the 400 MB incremental update).
Name the downloaded file
PS4UPDATE.PUPand place it in theUPDATEfolder (path:X:PS4UPDATEPS4UPDATE.PUP).Plug the USB drive into the PS4, boot into Safe Mode (hold power for two beeps), and select Option 7: Initialize PS4 (Reinstall System Software).
Follow the on-screen instructions to partition the SSD and flash the operating system.
5. Clean or Replace the Optical Laser Assembly
If the console is verified to have a healthy storage drive (or fresh SSD) but fails to install games from any physical Blu-ray disc with Error CE-30005-8, the optical pickup lens is either clouded with airborne dust/smoke residue or the laser diode’s gallium nitride emitter has degraded.
[Drive Teardown & Lens Maintenance]
 1. Disassemble console to expose the internal optical drive.
 2. Remove top sheet-metal cover to reveal the laser assembly.
 3. Clean pickup lens:
    - Lightly dampen a cotton swab with 99% Isopropyl Alcohol (IPA).
    - Wipe lens surface with minimal downward force for 5 seconds.
    - Dry immediately with the opposite dry cotton end.
 4. Inspect ribbon cables:
    - Ensure the 24-pin and 4-pin FFC cables between the optical drive
      and the motherboard are seated straight without creased traces.
Lens Cleaning: If the PS4 was operated in a dusty environment, nicotine-heavy room, or near pets, a thick film coats the exterior focusing lens. Cleaning the twin micro-lenses with 99% anhydrous IPA restores light transmission.
Laser Replacement: If cleaning fails to restore disc reading, replace the optical deck:
PS4 Fat (CUH-10xx / CUH-11xx): Uses KES-490A laser sled (or complete KEM-490AAA mechanism).
PS4 Fat (CUH-12xx), Slim (CUH-20xx), and Pro (CUH-70xx): Uses KES-496A laser sled (or complete KEM-496AAA mechanism).
Important Note on Daughterboards: On early model PS4 Fats (CUH-10xx and 11xx), the optical drive daughterboard (BDP-010 / BDP-020) is cryptographically paired to the motherboard. If swapping the drive mechanism on these consoles, you must transfer your original internal daughterboard PCB over to the new mechanical assembly, or the system will reject all discs and block future firmware updates with Error SU-42118-6. On CUH-12xx, Slim, and Pro models, the drive logic is integrated directly into the main motherboard, allowing plug-and-play laser deck swaps without board transplantation.
If CE-30005-8 persists exclusively on brand-new, immaculate discs while digital games launch and play from the internal drive with zero hitches, the optical laser has suffered permanent photodiode breakdown and cannot register the BD-ROM track pitch. If the error occurs indiscriminately across both digital games and disc installations despite a clean database rebuild and software reinstallation, the failure is isolated to defective flash sectors or read/write head wear on the 2.5-inch internal hard drive, requiring a hard drive or SSD replacement to restore full operational capability.