
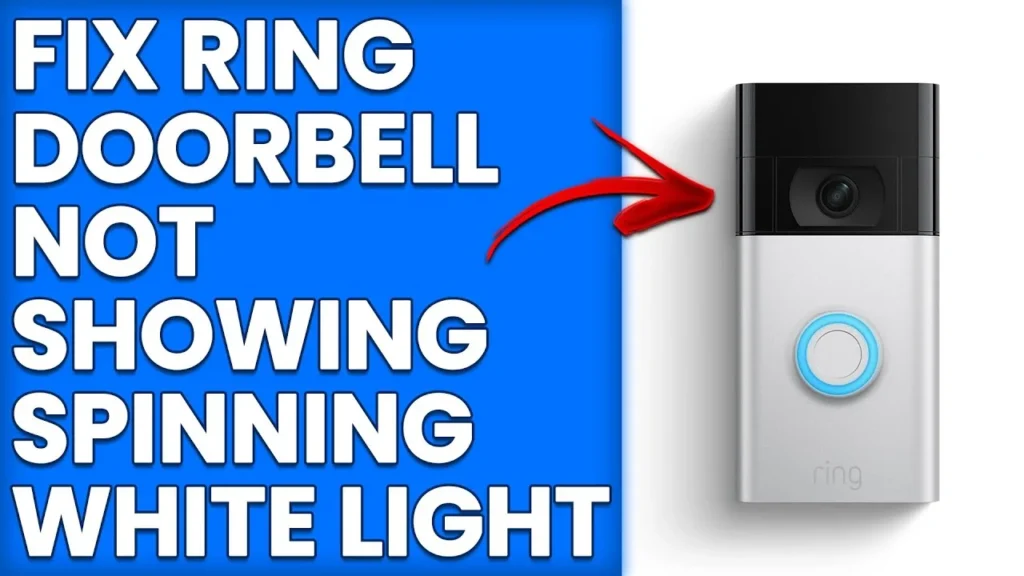
How to Fix Ring Doorbell Blinking Blue Not Spinning White
A Ring Doorbell blinking blue instead of spinning white indicates that the device cannot enter Setup Mode because it is blocked by a critical power deficit, an active firmware update, or a bootloader state lock. On Ring devices, a spinning white light signals that the Wi-Fi transceiver has initialized and is broadcasting its temporary ad-hoc setup network (
Ring Setup-XX).If pressing the setup button yields a blinking, flashing, or pulsing blue light instead, the internal microcontroller either lacks the burst current required to power the radio, is actively flashing its flash ROM from an interrupted Over-The-Air (OTA) update, or the setup button was held down (triggering a factory reset) rather than momentarily tapped.
Quick Diagnostic Matrix
| LED Behavior / Context | Root Cause | Inspection / Tool | Recommended Fix |
| Blinks blue 4 times, pauses, repeats; no white light | Battery voltage is below the operational threshold ($le 3.65text{V}$) required to power the Wi-Fi radio | Multimeter / Micro-USB / USB-C | Remove battery/doorbell and charge via wall outlet for 6 to 8 hours until LED turns solid green. |
| Blue light flashes or moves in a circle continuously | Device is actively downloading or installing an OTA firmware update | Network / Router Traffic | Do not disconnect power. Leave undisturbed for 15–20 minutes to prevent bricking the flash ROM. |
| Blue light flashes rapidly, then shuts off entirely | Insufficient AC transformer voltage/amperage on hardwired setups ($<16text{V}$ AC) | Multimeter on AC Voltage mode | Verify doorbell transformer outputs 16V–24V AC at 30VA; install or check the Ring Pro Power Kit. |
| Blinks blue for 15–20s after pressing the button | Setup button was held down too long, triggering a factory reset rather than setup mode | Physical Setup Button | Allow reset to complete (wait 2 minutes), then tap and release the button once for $sim 1$ second. |
| No response to button tap; blinks blue only when wired | Internal Li-ion bridge pouch cell has failed or swollen (common on hardwired models) | Physical Inspection / Chime | Replace the removable Quick Release Battery pack or internal bridge cell. |
1. Eliminate Critical Battery Voltage Depletion
The most common reason a Ring Doorbell fails to transition to a spinning white LED is insufficient battery voltage. Even when a Ring Doorbell is connected to existing doorbell wiring, the hardwired connection only provides a slow trickle-charge. The high-draw functions—such as broadcasting the ad-hoc setup Wi-Fi beacon—draw burst currents directly from the internal lithium-ion cell.
[Ring Power Architecture: Setup Mode Inrush Current]
 AC Transformer Wiring (16V-24V AC) ──► Trickle Rectifier (~50-100mA)
                                                │
                                                ▼
 Internal Li-ion Cell (Nominal 3.7V - 4.2V) ══════════════════════════╗
                                                                      ▼
 [Setup Button Pressed] ──► Wi-Fi Radio Broadcasts "Ring Setup-XX" (Draws ~500mA - 1A Burst)
                                                                      │
                     ┌────────────────────────────────────────────────┘
                     ▼
 [If Cell < 3.65V: Rail Collapses ──► Aborts Setup ──► BLINKS BLUE / REBOOTS]
- Remove the Battery / Doorbell:
- Removable Battery Models (Ring Video Doorbell 2, 3, 4, Battery Plus/Pro): Remove the security screw at the bottom, pop off the faceplate, depress the metal release tab, and slide the battery pack out.
- Internal Battery Models (Ring Video Doorbell 1st/2nd Gen): Unmount the entire unit from the mounting bracket.
- Charge Directly via Wall Charger:
- Connect the battery directly to a standard $5text{V} / 2text{A}$ USB wall charger using the provided micro-USB or USB-C cable (do not use low-power computer USB ports).
- While charging, both the red/amber and green LEDs may light up.
- Charge until only the solid green LED remains illuminated (typically 6 to 8 hours). If you attempt setup while the green light is still accompanied by an orange/red light, the voltage is insufficient to broadcast the setup beacon, and the doorbell will fail back to blinking blue.
- Reinsert the fully charged battery pack firmly into the housing until it clicks into place.
2. Correct Setup Button Timing (Single Tap vs. Factory Reset)
A frequent point of confusion is holding the setup button down. On all Ring Doorbell generations, holding the button triggers a hard factory reset, which initiates a reboot accompanied by blue flashes, completely bypassing the spinning white setup mode.
[Button Actuation Logic]
 ┌────────────────────────────────────────────────────────┐
 │ Setup Button (Orange/Black on rear or front chassis)   │
 └──────────────────────────┬─────────────────────────────┘
                            │
            ┌───────────────┴───────────────┐
            ▼                               ▼
 [MOMENTARY TAP (1 SECOND)]         [HOLD FOR 15–20 SECONDS]
  ├── Initializes Setup Mode         ├── Hard Factory Reset
  ├── Radio broadcasts beacon        ├── Erases flash configuration
  └── TARGET: SPINNING WHITE LED     └── RESULT: BLINKING BLUE REBOOT LOOP
- Let Current Cycles Finish: If the doorbell is currently blinking blue, wait 2 full minutes for its internal bootloader or reset cycle to complete. The light should turn completely off.
- Execute a Momentary Tap:
- Press the setup button firmly for exactly one second, then immediately release it.
- Location of Button:
- Ring Video Doorbell (2nd Gen): Orange button on the rear casing.
- Ring Video Doorbell 3, 4, Battery Plus/Pro: Small circular button on the front or side of the chassis (under the removable faceplate).
- Ring Video Doorbell Pro / Pro 2: Small button on the right-hand edge under the faceplate.
- Observe the light ring: within 5 to 10 seconds, the blue flashes should cease, and the light should begin spinning white, indicating the device is broadcasting its setup signal.
3. Clear Bootloader Deadlocks via a Hard Factory Reset
If a momentary tap still only yields blinking blue lights, the internal flash configuration table or network cache has corrupted, trapping the system in a partial initialization loop. A full hardware wipe clears bad network parameters.
[Hardware Factory Reset Flow]
 Ensure Battery is Fully Charged ──► Locate Setup Button
                                             │
                                             ▼
 Press and HOLD Setup Button for 25 CONTINUOUS SECONDS (Do not release early)
                                             │
                                             ▼
 Release Button ──► Ring flashes blue rapidly 4 times ──► Shuts off completely
                                             │
                                             ▼
 Wait 60–90 Seconds (Cold Bootloader Reload) ──► Tap Setup Button ONCE
                                             │
                                             ▼
                         [SPINNING WHITE LED ENGAGED]
- Confirm that the battery is confirmed $>4.0text{V}$ or connected to active power.
- Press and hold down the Setup button for a full 25 to 30 seconds.
- Release the button:
- The ring light will flash blue rapidly several times, indicating that the firmware is clearing non-volatile flash memory and restoring factory defaults.
- Leave the doorbell completely undisturbed for 90 seconds. During this phase, the system reboots its Linux-based kernel and calibrates the image sensor.
- Once the LED ring is dark and inactive, tap the setup button once for 1 second. The white light should now spin.
4. Hardwired Models: Check Transformer Voltage & Pro Power Kit
For hardwired-only models (Ring Video Doorbell Wired, Pro, and Pro 2), a blinking blue light (especially when accompanied by a brief buzz or the ring cutting out) indicates that the doorbell transformer is under-supplying voltage or current.
[Transformer Power Path Inspection]
 AC Mains (120V / 230V) ──► [Step-Down Doorbell Transformer]
                                       │
                     ┌─────────────────┴─────────────────┐
                     ▼                                   ▼
          Output: < 16V AC (FAILS)            Output: 16V - 24V AC, 30VA (PASS)
          ├── Under-voltage lockout           ├── Stable logic power
          └── BLINKS BLUE / REBOOTS           └── ENTERS SPINNING WHITE SETUP
- Verify Transformer Specifications:
- Ring Pro and Wired doorbells require an AC transformer rated for 16V–24V AC, minimum 30VA (or 24V DC at 0.5A).
- Older residential mechanical chime transformers are often rated for only $10text{V}–12text{V}$ AC or $10text{VA}$. When the Ring doorbell draws high current to initialize its Wi-Fi chip, the voltage sags below $14text{V}$, forcing the unit to reboot and flash blue.
- Multimeter Diagnostic:
- Set a digital multimeter to AC Voltage ($text{V}sim$).
- Measure across the two wire terminals on the back of the Ring Doorbell mounting plate.
- If the reading is below $16.0text{V}text{ AC}$, replace the transformer with a dedicated $16text{V}text{ AC} / 30text{VA}$ power unit.
- Inspect the Ring Pro Power Kit (Pro Models):
- Ring Pro models require the Pro Power Kit v2 installed inside your internal mechanical/digital chime box.
- The Pro Power Kit acts as an active bypass fuse. If it is omitted or wired in parallel incorrectly, the mechanical chime’s solenoid coil absorbs line voltage, starving the doorbell of operating current. Ensure the Pro Power Kit wires bridge the Transformer (
TRANS) and Front Chime (FRONT) terminals securely.
5. Wait Out Active Firmware Updates (Do Not Power Cycle)
If your Ring Doorbell was previously connected to the internet and dropped offline, or if it successfully connected during a prior incomplete setup attempt, it may be in the middle of a mandatory Over-The-Air (OTA) firmware update.
[OTA Firmware Update Signature]
 ┌────────────────────────────────────────────────────────┐
 │ LED Ring Status:                                       │
 │  ├── Top half flashes blue continuously                │
 │  └── OR blue light moves upward / pulses rhythmically   │
 └────────────────────────────────────────────────────────┘
- The Indicator: If the blue light is flashing on the top half of the ring or pulsing in an upward sequence, the bootloader is flashing new firmware binaries to the onboard SPI flash chip.
- The Rule: Never pull the battery or kill power while the unit is flashing blue in this manner. Cutting power during a write cycle corrupts the bootloader block (soft-bricking the device).
- Action: Keep the doorbell connected to power and wait 20 to 30 minutes. Once the firmware installation completes, the device will reboot, turn its LEDs off, and respond to a single tap on the setup button with the correct spinning white animation.
6. Inspect Physical Button Hardware & Internal Battery Bridge
If the unit has been in service for several years and fails to display a spinning white light under any circumstance, physical hardware wear is likely grounding the setup circuit.
[Chassis Hardware Failure Points]
 ┌────────────────────────────────────────────────────────┐
 │ 1. Setup Tactile Micro-Switch: Grime/corrosion         │
 │    holds switch closed (Permanent Reset State).        │
 ├────────────────────────────────────────────────────────┤
 │ 2. Internal Li-ion Bypass Cell: Swollen or high        │
 │    internal resistance (Cannot buffer current spike).  │
 └────────────────────────────────────────────────────────┘
- Stuck or Oxidized Setup Micro-Switch:
- Outdoor exposure can introduce moisture and dust into the physical tactile switch. If the button is stuck in a permanently closed position, the device believes the button is being held down endlessly, preventing setup mode.
- Inspect the button. Apply a drop of 99% isopropyl alcohol (IPA) around the collar of the button and press it repeatedly 20–30 times to clear internal carbon buildup and verify that you feel a distinct mechanical click.
- Degraded Internal Buffer Cell (Ring 1st/2nd Gen & Pro):
- Even hardwired Ring Pro models contain a tiny internal lithium-polymer battery pack (typically $3.7text{V}, 300text{mAh}$) soldered to the main logic board to buffer high current draws when the chime activates.
- After 3 to 5 years of temperature swings, this internal cell swells and loses capacity. When the CPU attempts to boot the Wi-Fi radio for setup, the internal voltage plane drops to zero, triggering an immediate blue-light restart. If the back cover of the doorbell is visibly bulging or the unit will not stay powered on without direct USB power, the internal cell has reached end-of-life, requiring unit replacement or micro-soldering an OEM-spec replacement cell.