
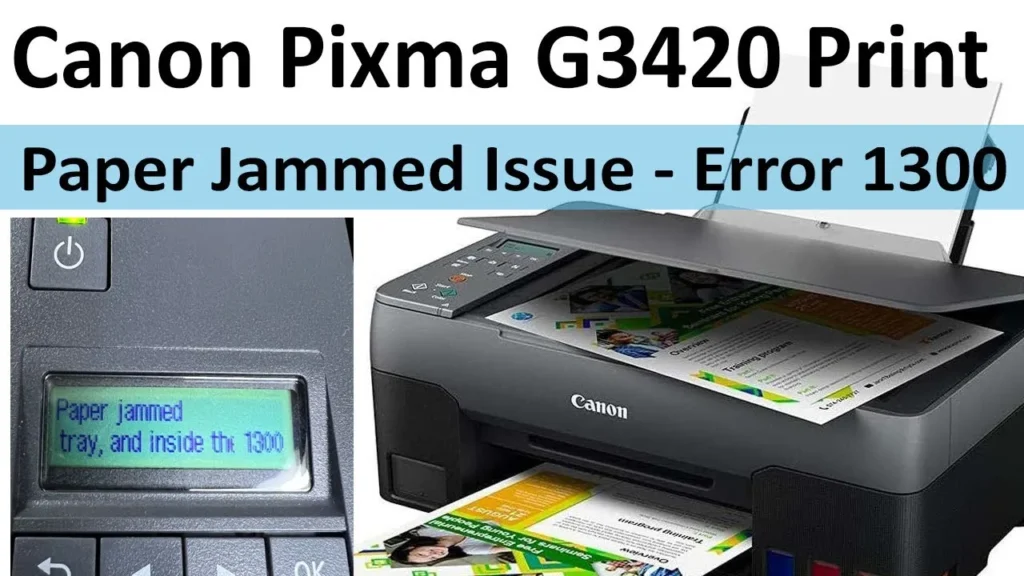
Canon G3420 Shows Paper Jam Error Even When Cleaning Rollers
When a Canon PIXMA G3420 displays a false paper jam error (Support Code 1300, 1303, or blinking error) even after cleaning the feed rollers, the issue is almost always caused by a stuck mechanical sensor flag (PE sensor), foreign debris lodged deep in the feed path, or a smudged encoder strip.
1. Check the Paper Feed Sensor Flag (Actuator)
The Canon G3420 detects paper entry via a spring-loaded plastic lever (flag) that breaks an optical beam. If paper was previously pulled out from the rear or torn, this flag can get stuck backward or slip off its micro-spring.
- Unplug the power cable from the back of the printer.
- Open the Scanning Unit / Top Cover and look down into the paper path below the rear feed chute.
- Use a flashlight to locate the small, black plastic finger/lever protruding into the paper guide path (usually near the center or toward the right feed area).
- Lightly nudge it with a cotton swab or pencil tip.
- Verification: It must pivot forward freely and instantly spring back into its resting position. If it remains stuck back, gently toggle it until the spring snaps it upright.
2. Dislodge Hidden Micro-Debris via “Cardstock Flossing”
Small items (staples, paper clips, torn corners, or dropped bits of tape) frequently slide into the rear gravity-feed slot of the G3420 and block the internal rollers or optics without being visible.
- Take a clean sheet of heavy cardstock (around 200–250 gsm) or an index card.
- Power off the printer.
- Slide the cardstock manually into the rear paper tray slot, pushing it firmly but gently downward along the feed path toward the front output tray.
- Move the cardstock slightly from left to right along the feed track.
- Verification: Check the front output opening. Any torn corner or foreign object wedged in the lower rollers will usually get pushed out onto the front tray.
3. Clean the Encoder (Timing) Strip
The carriage positioning strip runs horizontally behind the print head. If ink mist, aerosol spray, or grease gets on this clear band, the printer loses track of carriage travel timing during initial startup and defaults to a false paper jam.
- Ensure the printer remains powered off.
- Locate the thin, semi-transparent plastic strip running horizontally directly above the drive belt and behind the print head carriage.
- Take a dry, lint-free microfiber cloth (or very lightly dampen it with distilled water; avoid isopropyl alcohol as it can remove the printed timing tick marks).
- Gently pinch the strip with the cloth between two fingers and wipe from left to right.
- Verification: Inspect the strip with a light to ensure there are no opaque smudges, ink droplets, or fingerprints left on it.
4. Run the Built-In “Bottom Plate Cleaning”
If ink deposits or paper dust have settled onto the internal guide ribs, this automatic cycle uses folded paper to wipe the underside of the transport path.
- Turn the printer on.
- Fold a clean sheet of A4 plain paper in half widthwise, then unfold it.
- Load this single sheet into the rear tray with the open crease facing downward.
- Pull out the paper output tray.
- Press the Setup (Gear) button on the printer panel until the wrench icon appears on the LCD.
- Use the + / – buttons to navigate to Maintenance -> select Bottom Plate Cleaning (or refer to the maintenance menu for plate cleaning) and press OK / Black.
- Verification: The printer pulls the creased sheet through without printing and ejects it out the front, picking up trapped debris.
5. Clear Cached Motherboard Faults (Hard Power Drain)
If the controller board retained a latched logic error in volatile memory:
- With the printer on, pull the power cord directly from the wall outlet.
- Press and hold the printer’s physical Power button for 20 seconds to drain any residual charge across the internal capacitors.
- Wait 3 to 5 minutes.
- Plug the power cord directly into a wall outlet (avoid extension strips) and turn the unit back on.
- Verification: The printer initializes without immediately flashing the orange alarm / paper jam code on the LCD.