
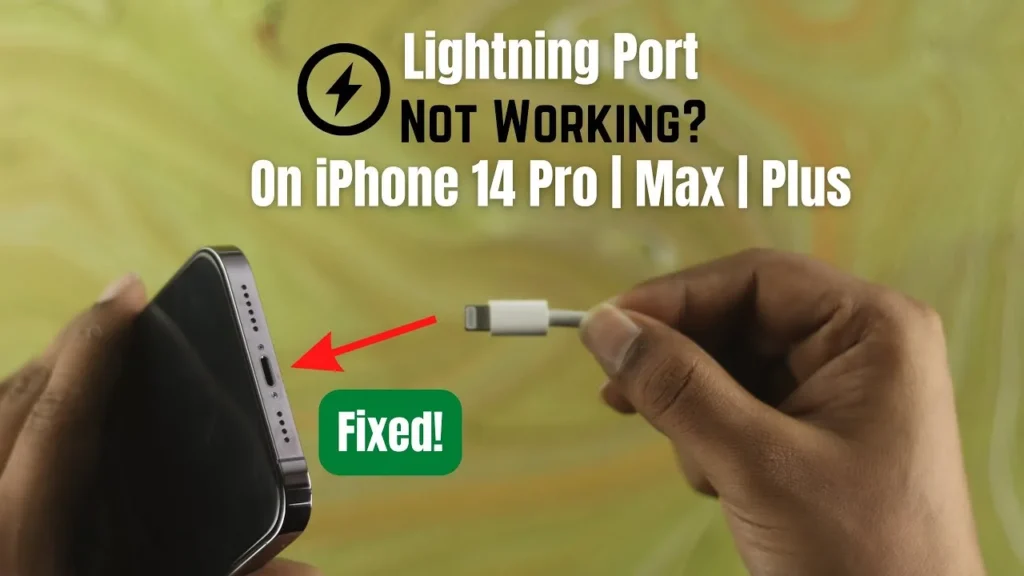
How to Fix Phone Charging Port Not Working
A non-functional phone charging port is caused by compacted pocket lint obstructing mechanical plug travel, micro-arcing carbon deposits across VBUS or Configuration Channel (CC) pins, a locked capacitive moisture-detection daemon in the operating system, or fractured surface-mount solder pads on the USB daughterboard. When a phone refuses to charge, requires holding the cable at an awkward angle, or repeatedly disconnects, isolating mechanical obstructions from electrical pin degradation resolves the failure without unnecessary phone replacement.
Quick Diagnostic Matrix
| Symptom | Root Cause | Setting / Diagnostic Path | Recommended Fix |
| Cable wobbles, falls out, or charges only when bent | Compacted pocket lint in the rear cavity preventing mechanical latching | Visual inspection with flashlight | Clean port floor using a non-conductive wooden or plastic pick. |
| Persistent “Moisture detected” alert on dry port | Conductive mineral residue bridging sense pins or a locked OS daemon cache | Android: Settings > Apps > USB Settings | Clear USB cache and data; displace mineral residue using 99% isopropyl alcohol. |
| Charges via USB-A to USB-C, but fails with USB-C to USB-C | Damaged or oxidized CC pin preventing digital USB Power Delivery (PD) handshake | Cable flip test / Hardware check | Clean internal CC pins; flip cable 180°; replace damaged cable or sub-board. |
| Port is loose internally; device draws zero current | Fractured solder joints between the port casing and the internal PCB | Physical wiggle test / USB ammeter | Replace the modular lower USB charging daughterboard (sub-board). |
1. Extract Compacted Pocket Lint and Debris
Over 80% of intermittent charging issues are purely mechanical. Every time a phone is placed into a pocket and plugged in, lint is driven deeper into the port and stamped flat against the rear wall. Eventually, this barrier prevents the cable connector from sliding far enough for the port’s internal spring-retention clips to lock into the plug’s side detents.
[Phone Charging Port Cross-Section]
 ┌──────────────────────────────┐
 │ [Central Contact Pins]       │
 │ ░░░░░░░░░░░░░░░░░░░░░░░░░░░░ │ <── Compressed Lint Barrier
 └──────────────────────────────┘     (Prevents full connector depth)
- Power down your smartphone completely.
- Shine a focused flashlight directly into the charging port cavity.
- Look past the central wafer (tongue) to the back wall: you should see a flat, clean plastic or metal stop plate. If the surface looks fibrous, spongy, or gray, lint is packed inside.
- Select a non-conductive tool: Use a thin wooden toothpick (shaved down flat with a razor) or a rigid plastic dental flosser pick. Never use metal sewing needles, safety pins, or paperclips, as conductive metal will short the battery VBUS rail or bend the pins.
- Insert the pick flat against the bottom floor of the port, sweep across from one corner to the other, and pull outward to scrape out the compressed lint blocks.
- Clear out loose residue with a short burst of compressed air held upright.
- Insert your cable. It should lock into place with a crisp, tactile click and sit flush against the chassis.
2. Dissolve Carbon Arcing Deposits and Pin Oxidation
Fast-charging protocols (USB-PD, Qualcomm Quick Charge, PPS) push high current (3A to 5A) through tiny gold-plated contacts. Inserting or removing the cable while power is actively flowing produces micro-arcs that leave black carbon residue or green copper oxidation on the power pins, breaking electrical contact.
- Keep the phone powered off.
- Inspect the contact pins under magnification:
- USB-C: Inspect both sides of the central wafer (tongue) inside the port.
- Lightning: Inspect the spring contact array lining the inside wall of the cavity.
- Lightly dampen an interdental brush or a stiff strip cut from an index card with 99% isopropyl alcohol (IPA). Avoid standard 70% rubbing alcohol; its 30% water content can cause electrolytic corrosion.
- Gently insert the brush or card strip and scrub the pin surfaces to strip away carbon crust and dried flux.
- Allow the alcohol to evaporate completely for 10 minutes before plugging in a charger.
3. Clear Stuck “Moisture Detected” Sensor Flags
Modern smartphones monitor impedance across dedicated sensing pins inside the port. If conductive fluid bridges these lines, the phone disables charging to prevent short circuits. However, the software service managing this check frequently gets stuck in a loop long after the port is completely dry.
Step A: Purge the USB System Cache (Android / Samsung)
- Navigate to
Settings>Apps. - Tap the filter/sort icon next to Your apps and enable Show system apps.
- Scroll down and tap USB Settings (or Android System).
- Tap Storage, then select Clear Cache followed by Clear Data.
- Restart your phone and reconnect the charger.
[Settings]
 └── Apps > [Enable "Show system apps"]
      └── USB Settings
           └── Storage > [Click] "Clear Data" & "Clear Cache"
Step B: Force Reboot During the Charger Handshake
If the phone is powered off and displays only a moisture warning triangle when plugged in:
- Plug the charger into the wall.
- Insert the cable into the phone. The moisture warning icon will appear.
- Immediately press and hold the Power + Volume Down buttons to force a hard hardware restart.
- Keep holding until the boot logo appears; the bootloader will often bypass the sensory polling routine during this low-level initialization cycle.
4. Test USB-PD Handshakes and Cable Reversibility
USB-C ports do not supply power automatically. When connected, the charger and phone use the Configuration Channel (CC) pins to establish a digital handshake, detect cable orientation, and negotiate operational voltages (5V, 9V, 15V, or 20V).
- The 180-Degree Flip Test: Plug in your USB-C cable. If the phone does not charge, flip the cable head upside down and re-insert it. If it charges in only one orientation, either one side of your cable’s pins is severed or the corresponding CC pin on the phone’s central wafer is bent or burnt out.
- The USB-A Isolation Test: Connect the phone using an older USB-A to USB-C cable plugged into a standard 5V adapter. USB-A to USB-C cables contain a fixed 56kΩ pull-up resistor that bypasses dynamic USB-PD digital handshakes and forces basic 5V power delivery. If the phone charges with a USB-A cable but remains dead on USB-C to USB-C chargers, the charging port’s CC logic circuit has failed.
5. Toggle Charging Protocols and Revive Deeply Drained Cells
When a smartphone battery drops below its low-voltage cut-off point (typically around 2.8V per cell), the internal Battery Management System (BMS) enters a protective sleep state. Connecting a high-voltage fast charger in this state often causes the charging controller to abort immediately.
- If the phone is powered on, go to
Settings>Battery(orDevice Care>Battery). - Open More battery settings or Charging settings.
- Temporarily turn off Fast charging, Super fast charging, and Fast wireless charging.
- If the device is completely dead and unresponsive, connect it to a low-power, legacy 5V / 1A charging brick (such as an older 5W wall adapter or a computer USB port).
- Leave the phone undisturbed on this low-current trickle charge for 45 to 60 minutes. This gently lifts the cell voltage above the safety threshold without triggering the BMS over-current cutoff, allowing standard fast chargers to function again.
6. Diagnose Hardware Fatigue and Sub-Board Replacement
If the charging cable moves freely inside the port from side to side, or if the phone charges only when you physically push the cable connector upward, the internal hardware has sustained structural damage:
- Cracked Central Wafer: Inspect the thin wafer inside a USB-C port under a light. If the wafer has split, snapped, or wobbles independently of the housing, the port is dangerous to use; inserting a plug can short the 9V/12V fast-charging rail straight to the ground plane, destroying the motherboard.
- Fractured Daughterboard Solder Joints: In nearly all modern smartphones, the charging port is surface-mounted onto an independent, modular charging daughterboard (sub-board) linked to the main logic board via a flexible printed circuit (FPC) ribbon cable. Repeated mechanical stress from using the phone while plugged in fractures the micro-solder points connecting the port housing to this board.
Because replacement sub-boards are modular components, fixing a physically dead or loose charging port rarely requires micro-soldering. Swapping out the complete OEM charging sub-board—which contains the USB-C port, lower microphone, and antenna connections—costs very little in parts and permanently restores solid mechanical retention and fast-charging capability.