
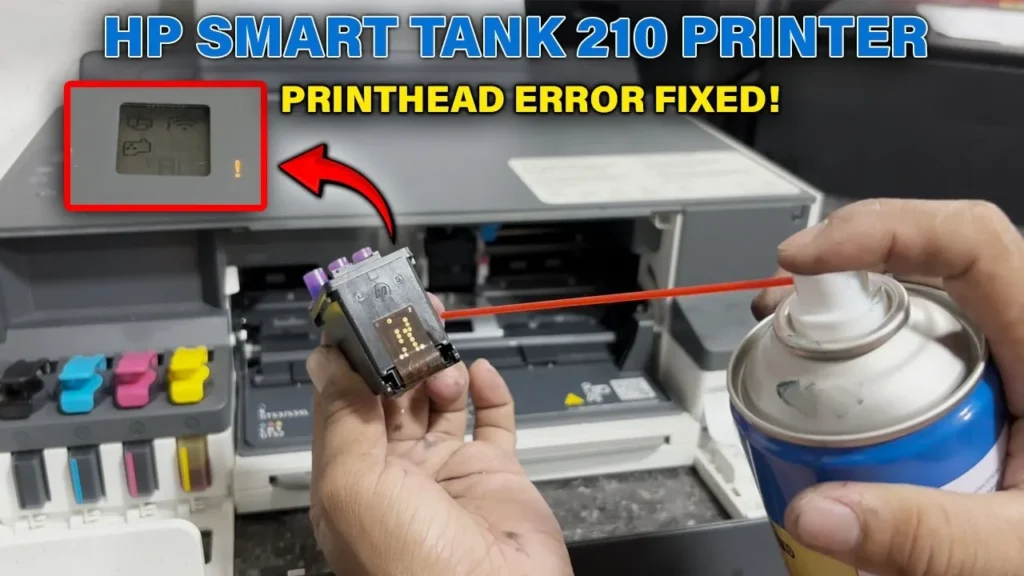
How to Fix Hp Smart Tank Printer Head Error
An HP Smart Tank printhead error (blinking printhead icon, alternating E3 code, or “Printhead Problem” in HP Smart) indicates that the logic board has lost electrical contact with a cartridge, detected an open/shorted heating resistor, or triggered thermal runaway protection due to air in the ink lines.
Quick Diagnostic Matrix
| Error Indicator | Primary Root Cause | Targeted Fix |
| Blinking Black [K] or Color [CMY] icon | Ink splatter or oxidation on contact pads; unlatched carriage | Clean gold pads with distilled water; press blue latch flat until it clicks. |
| Error on newly installed printheads | Blue contact tape or orange shipping caps still attached | Remove orange plastic caps and completely peel off the blue tape. |
| Carriage slams against sides or jams (E3) | Blue carriage latch is raised $sim 1text{ mm}$, striking internal frame | Push the blue latch down firmly until both sides sit flush and level. |
| Blank pages or faded bands before error | Airlock in ink tubes; thermal resistors overheating dry | Run Deep Clean (Level 2) in HP Smart; vacuum-prime tubes with a syringe. |
| Error persists after cleaning and reseating | Blown internal thermal fuse or burnt resistor array | Replace printhead (HP 3YP17A, 6ZA17AE, or M0H50A/M0H51A). |
1. Verify the Blue Carriage Latch (Most Common Cause)
The blue carriage lid holds the printhead contacts under spring pressure and seals the hydraulic ink needles. If it is not fully locked, the printer immediately registers a printhead disconnect.
- Turn the printer ON.
- Open the front exterior door, then the inner printhead access door.
- Wait for the carriage to center and come to a complete stop.
- Inspect the top blue carriage latch:
- It must be 100% horizontal and flush.
- If either corner is raised even slightly, press down hard in the center of the latch with your thumb until you hear a loud, sharp click.
- Close the doors and check if the error clears.
2. Clean Electrical Contacts (Gold Pads and Carriage Pins)
Ink aerosol and packing grease insulate the copper pads, dropping the operating voltage below the logic board’s detection threshold.
- With the carriage centered, unplug the AC power cord from the back of the printer to keep the carriage parked in the access bay.
- Push down on the blue latch release tab to pop the carriage open.
- Gently press down on the printhead to release it, then pull it out at a slight upward angle.
- Remove Shipping Tape: If newly installed, verify the blue pull-tab tape on the contacts and the orange plastic cap on the nozzle base are completely removed.
- Clean the Contacts:
- Lightly dampen a lint-free microfiber cloth or coffee filter with distilled water only (never use alcohol, glass cleaners, or tap water; alcohol dissolves nozzle adhesives, and tap water leaves mineral shorts).
- Wipe only the gold electrical contact pads on the back of the printhead from top to bottom. Do not touch or wipe the bottom nozzle plate.
- Use a dry foam swab to wipe the matching spring pins inside the carriage cavity.
- Reinstall the printhead (Color on the left, Black on the right), press the blue latch down firmly until it clicks, reconnect power, and turn on the unit.
3. Clear Airlocks in Ink Tubes (Thermal Dry-Firing Protection)
HP Smart Tank printheads use thermal inkjet resistors that fire at $>300^circtext{C}$. They rely on continuous ink flow for cooling. If air enters the tubes, the nozzles overheat within seconds, tripping an automatic safety shutdown that reports as a printhead error.
- Via HP Smart App:
- Open HP Smart on your PC or phone.
- Go to Printer Settings > Print Quality Tools (or Tools).
- Run Clean Printheads (Level 1).
- If tubes still show visible air gaps $>2text{ cm}$, run Deep Cleaning (Level 2) to force the internal purge pump to pull fresh ink from the tanks.
- Manual Syringe Prime (For Bone-Dry Tubes):
- If ink has drained entirely back into the tanks, remove the printhead.
- Fit a blunt-tip syringe with a rubber suction seal over the nozzle plate on the bottom of the printhead.
- Draw $1text{–}2text{ mL}$ of ink through the head until liquid ink flows into the syringe with no air bubbles.
- Wipe excess ink with a damp lint-free cloth and reseat.
4. Hard Flea-Power Reset (Flushes Corrupted NVRAM)
A stalled error state stored in non-volatile memory will sometimes persist even after the hardware fault is corrected.
- While the printer is turned on, pull the power cord straight out from the rear of the machine.
- Unplug the adapter from the wall outlet and disconnect the USB cable.
- Press and hold the physical Power button on the printer for 30 seconds to bleed residual capacitive power from the mainboard.
- Wait 5 full minutes.
- Plug the power cord directly into a wall outlet (bypass surge protectors or extension leads).
- Power on the printer and allow it to complete its mechanical self-test.
5. Hardware Replacement
If the error remains solid after cleaning the contacts, locking the latch, clearing air gaps, and power-cycling, the internal resistor array has permanently open-circuited.
- Order the replacement kit matching your printer generation:
- Smart Tank 500 / 600 / 700 / 6000 / 7000 Series: HP 6ZA17AE / 6ZA18AE set or HP 3YP17A.
- Older Smart Tank / Ink Tank 300 / 400 Series: HP M0H50A (Color) / M0H51A (Black).
- Install the replacement printhead, click the blue latch down, and allow the printer 5–10 minutes to run its automatic ink-charging and head-alignment routine.