
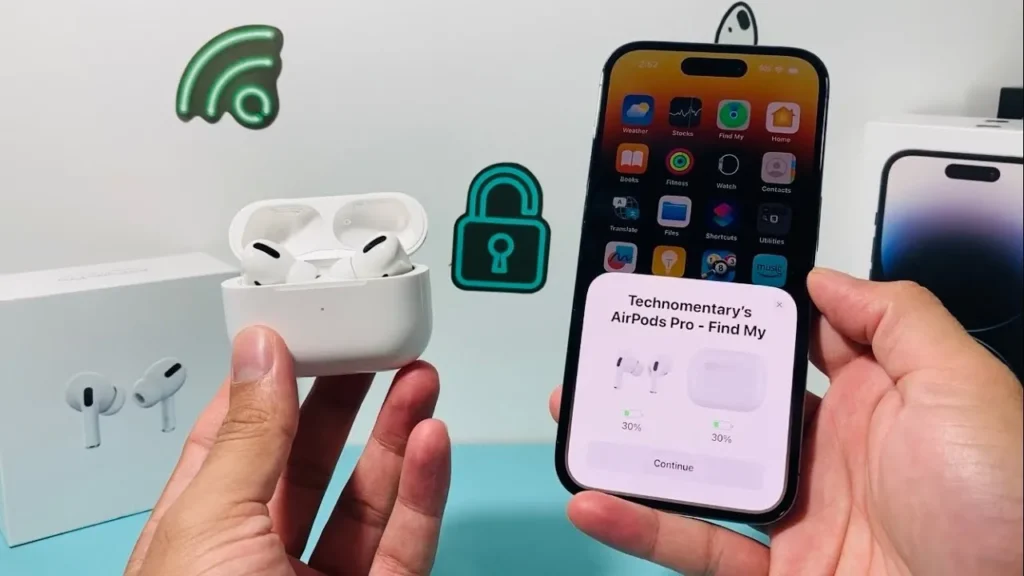
How to Fix AirPods Pro Crackling Sound When Moving with Noise Cancelling
A crackling, rattling, or static clicking sound that occurs when you walk, move your head, speak, or chew—specifically while Active Noise Cancellation (ANC) or Transparency Mode is engaged—points to an acoustic feedback loop in the earbud’s hybrid ANC system. AirPods Pro use an outward-facing feedforward microphone to sample ambient environmental noise and an inward-facing feedback microphone to monitor sound inside the ear canal. The internal system-in-package (H1/H2 chip) calculates an inverse anti-noise waveform to cancel unwanted sound.
When debris, skin oils, or earwax clog the acoustic vents, or when the internal microphone transducer suffers physical bonding separation, the acoustic transfer function fails. The inward-facing mic registers physical movement and air pressure shifts as sound, prompting the DSP to overcompensate with an unstable anti-phase correction that manifests as a sharp crackle or mechanical rattle.
Quick Diagnostic Matrix
| Symptom | Root Cause | Diagnostic Test / Setting | Recommended Fix |
| Crackles only when walking/moving with ANC or Transparency ON | Clogged exterior acoustic mesh or failing internal ANC feedback microphone | Settings > Bluetooth > Noise Control | Toggle Noise Control to Off; deep-clean black mesh vents with adhesive putty. |
| Crackles continuously even when Noise Control is set to “Off” | Torn speaker driver diaphragm, voice coil delamination, or loose battery cell | Audio Playback with Noise Control OFF | Hardware failure. Physical speaker driver damaged; requires single-earbud replacement. |
| High-pitched screech or chirp when inserting into ear | Inward-facing mic picking up amplified driver output (positive acoustic feedback) | Physical Insertion Check | Clean the oval mesh port underneath the removable silicone ear tip. |
| Static increases dramatically in loud environments (e.g., street noise) | Saturated or compromised outward-facing feedforward microphone | Ambient Noise Test | Clear the large exterior black mesh vent; reset the Bluetooth firmware cache. |
| AirPods Pro (1st Gen) crackles despite spotless vents | Known manufacturing defect in internal mic membrane (Service Program) | Apple Acoustic Diagnostic Tray | Schedule an Apple Store appointment; run diagnostic test for hardware replacement. |
1. Execute the “Noise Control Off” Isolation Test
Before cleaning or replacing hardware, isolate whether the crackling is driven by the digital ANC processing loop or a physical blowout of the speaker driver.
[AirPods Pro Active in Ears]
 └── Open iPhone Control Center ──► Long-Press Volume Slider ──► Tap "Noise Control"
      │
      ├── [Noise Cancellation] ──► (Crackles when moving) ──┐
      ├── [Transparency Mode]  ──► (Crackles when moving) ──┼──► ANC / Vented Mic Defect
      │                                                     │    (Proceed to Sections 2–6)
      └── [Off]                ──► [CRACKLE VANISHES] ──────┘
           │
           └── [CRACKLE PERSISTS] ──────────────────────────► Physical Driver Failure
                                                                  (Blown Speaker / Hardware RMA)
Insert both AirPods into your ears and connect them to your iPhone or iPad.
Swipe down from the top-right corner of your screen to open Control Center.
Touch and hold the Volume Slider, then tap the Noise Control icon at the bottom.
Cycle through the modes while walking, shaking your head, or tapping the earbud:
If the crackling completely disappears when set to “Off”: The physical speaker driver and voice coil are undamaged. The fault is strictly isolated to the ANC feedback microphone, pressure vents, or software filter algorithms.
If the crackling persists with Noise Control set to “Off”: The speaker driver diaphragm has suffered mechanical damage, or the dynamic coil has detached from its surround. Cleaning or resetting will not resolve this; the earbud requires physical replacement.
2. Deep-Clean the Acoustic Vents and Microphone Ports
The hybrid ANC architecture relies on unobstructed airflow across three distinct acoustic ports to calculate phase inversion and equalize air pressure. A microscopic layer of earwax or skin oil acts as an acoustic resistor, altering the chamber’s resonant frequency and triggering high-frequency oscillation in the DSP.
[AirPods Pro Acoustic Port Anatomy]
 ┌────────────────────────────────────────────────────────┐
 │   (A) Outward Feedforward Mic   (B) Pressure Relief Vent│
 │       [Black Exterior Mesh]         [Inner Black Strip] │
 │       ░░░░░░░░░░░░░░░░░░░           ░░░░░░░░░░░░░░░░░░░ │
 └──────────────────────────┬─────────────────────────────┘
                            │ (Internal Ear Canal Interface)
              (C) Inward Feedback Mic Port
                  [Oval Driver Mesh Under Tip]
Port A (Outward Feedforward Mesh): The large black metal mesh on the outer side of the earbud housing. It samples environmental ambient noise.
Port B (Pressure Equalization Vent): The elongated black mesh strip on the inner side facing the ear concha. It balances internal ear-canal pressure against the external atmosphere.
Port C (Inward Feedback Mic & Driver): The oval black acoustic screen hidden directly beneath the removable silicone ear tip.
The Adhesive Putty Extraction Method (Recommended):
Do not use liquids, toothpicks, or cotton swabs directly against the metal mesh; they force wax deeper into the acoustic chamber.
Remove the silicone ear tip by pulling firmly from the base.
Take a piece of reusable adhesive putty (such as Blu-Tack, Quakehold Museum Putty, or Bostik).
Knead the putty between your fingers until warm and pliable.
Press the putty firmly into the outer black mesh (Port A), the inner relief vent (Port B), and the driver speaker mesh (Port C).
Rapidly peel the putty away. The tacky adhesive draws out compacted wax, dead skin, and dust trapped in the microscopic steel wire matrix without penetrating the membrane.
Repeat 3 to 4 times across each mesh until the silver-black weave is visible under a direct light source.
3. Clean the Silicone Ear Tip & Run the Fit Test
Degraded or oily silicone tips allow the earbud to slip fractions of a millimeter when your jaw moves. This movement alters the volume of the sealed air cavity inside the ear canal, causing the inward microphone to register an acoustic pressure pulse that the ANC loop attempts to invert.
[Settings]
 └── Bluetooth > [Your AirPods Pro "i" Icon]
      └── [Tap] "Ear Tip Fit Test" ──► Run Diagnostic Chime
           ├── "Good Seal" (Green) ──► Acoustic seal optimal
           └── "Adjust or Try a Different Ear Tip" (Yellow) ──► Pressure leak detected
Wash the removed silicone ear tips in warm soapy water. Rinse thoroughly and allow them to air-dry completely for 30 minutes. (Never submerge the earbud itself).
Inspect the plastic mounting ring on the silicone tip. Ensure the snap-in clips are intact and that the inner mesh guard inside the silicone sleeve is free of oil.
Snap the silicone tip back onto the AirPods until you hear an audible click.
Put the AirPods in your ears, navigate to Settings > Bluetooth, and tap the (i) info icon next to your AirPods Pro.
Tap Ear Tip Fit Test, then press Continue and play the acoustic test tone.
If the result returns a yellow warning, swap to a different size tip (XS, S, M, L). Establishing an airtight seal prevents micro-movement air leaks from tripping the ANC sensor.
4. Reset Firmware and Clear Bluetooth Stack
Corrupted non-volatile RAM tables on the AirPods’ internal controller or stale Bluetooth link keys on your iOS/macOS device can desynchronize the left and right phase algorithms.
[AirPods Case Reset Workflow]
 1. Place both AirPods inside the Charging Case & Close the Lid for 30s.
 2. Open Lid ──► iPhone Settings > Bluetooth > "Forget This Device".
 3. Press & Hold the physical Back Setup Button for 15 Seconds.
 4. LED flashes Amber/Yellow 3 times ──► LED transitions to flashing White.
 5. Bring Case close to iPhone with Lid open to initiate clean pairing.
Place both AirPods in the charging case and close the lid. Wait 30 seconds.
Open the lid of your charging case.
On your iPhone, go to Settings > Bluetooth, tap the (i) icon next to your AirPods, and tap Forget This Device.
With the lid open, press and hold the setup button on the back of the case.
Hold the button continuously for 15 seconds until the front LED status indicator flashes amber/yellow, then begins flashing white.
Hold the case with the lid open next to your iPhone and follow the on-screen animation to rebuild the Bluetooth profile and reload default DSP parameters.
5. Force Firmware Over-The-Air (OTA) Check
Apple regularly deploys microcode updates containing stability adjustments for the H1/H2 DSP algorithms to prevent acoustic feedback oscillation. AirPods update automatically in the background when connected to power.
Place both AirPods in the charging case.
Connect the charging case to a wall charger using a Lightning or USB-C cable (or place on a Qi/MagSafe charger).
Ensure your paired iPhone or iPad is connected to Wi-Fi and placed physically adjacent to the AirPods case.
Leave the setup undisturbed for at least 30 to 45 minutes.
Check your current firmware version: Go to
Settings > Bluetooth > [Your AirPods (i)] > About > Version. Verify that the build matches the latest public release from Apple.
6. Apple AirPods Pro Service Program for Sound Issues (Hardware Failure)
If you are using AirPods Pro (1st Generation) and the crackling occurs strictly when moving, walking, or talking in ANC mode despite thorough cleaning and firmware resets, the hardware has succumbed to a documented manufacturing defect.
[Apple Authorized Service Diagnostic]
 ┌────────────────────────────────────────────────────────┐
 │           Apple Acoustic Diagnostic Tool (AST2)        │
 │ ┌──────────────────────┐      ┌──────────────────────┐ │
 │ │ Left AirPod (Test)   │      │ Right AirPod (Test)  │ │
 │ │  [Frequency Sweep]   │      │  [Frequency Sweep]   │ │
 │ └──────────┬───────────┘      └──────────┬───────────┘ │
 └────────────┼─────────────────────────────┼─────────────┘
              ▼                             ▼
       [PASS / FAIL]                 [PASS / FAIL]
  (Checks for internal microphone diaphragm fracture & acoustic leakage)
The Root Manufacturing Defect: On affected units, the internal inward-facing microphone membrane or its solder flex bonding mechanically degrades over time. Movement of the wearer’s jaw or foot strikes causes the damaged sensor to rattle physically, outputting an aberrant voltage spike that the amplifier converts into an audible crackle.
The Service Program: Apple established the AirPods Pro Service Program for Sound Issues for 1st Gen units experiencing static or crackling sounds that increase in loud environments or while exercising.
The Diagnostic Audit: At an Apple Store Genius Bar or Apple Authorized Service Provider (AASP), a technician places your individual earbuds into a specialized acoustic diagnostic tray connected to an iPhone. The system plays high-frequency audio sweeps to evaluate the frequency response of both the driver and the internal microphones.
Resolution: If the diagnostic detects a failure in either the feedforward or feedback microphone response, Apple replaces the affected individual earbud (left, right, or both) free of charge if within coverage, or offers single-unit out-of-warranty replacements if beyond the service eligibility window.
If the crackling noise ceases the moment you set Noise Control to “Off,” but returns immediately in ANC or Transparency Mode despite cleaning all three acoustic vents with adhesive putty, the inward-facing feedback microphone’s internal pickup diaphragm has physically failed. Because the microphone capsule is permanently encased in structural acoustic adhesive inside the hermetically sealed earbud shell, this failure cannot be repaired through software or soldering; resolving it requires replacing the affected individual AirPod.