
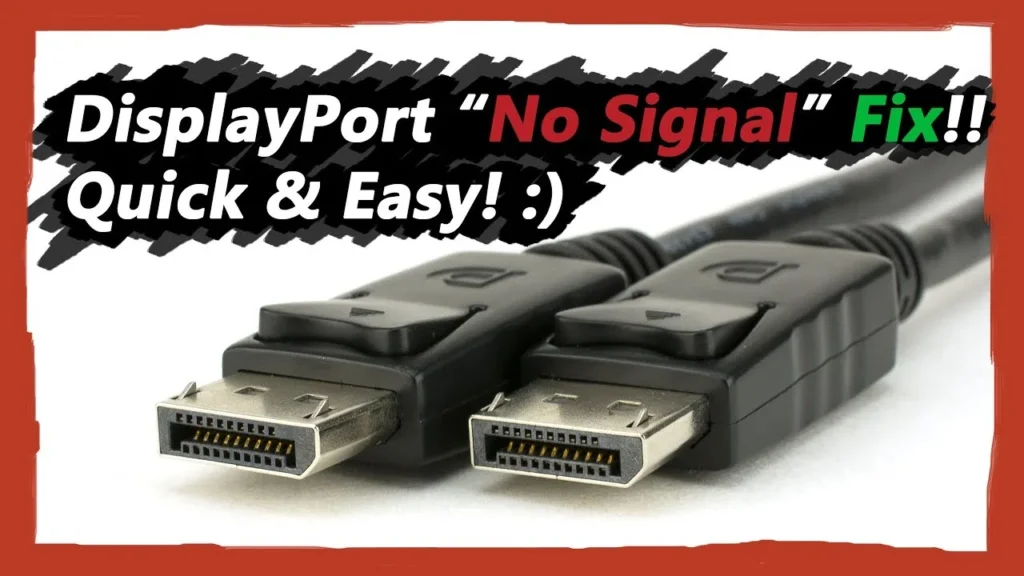
How to Fix Asus Monitor Displayport No Signal Black Screen
The ASUS monitor “DisplayPort No Signal” black screen error occurs when the monitor’s internal scaler microprocessor (MCU) fails to establish symbol lock or receive an Extended Display Identification Data (EDID) handshake over the DisplayPort Auxiliary (AUX) channel. On modern ASUS gaming displays (such as the ROG Swift and TUF Gaming series), this condition is most commonly caused by ASUS’s proprietary DisplayPort Deep Sleep power-saving firmware state failing to wake on incoming sync pulses, DisplayPort Stream version (DP 1.4 DSC vs. DP 1.2) handshake timeouts, parasitic DC voltage loops from non-certified cables with an active Pin 20, or latched states within the monitor’s switch-mode power circuitry.
Quick Diagnostic Matrix
| Symptom | Root Cause | Path / Setting | Recommended Fix |
| Monitor works on HDMI, but shows “No Signal” on DisplayPort | Scaler MCU locked in low-power DisplayPort Deep Sleep state | ASUS OSD > System Setup | Disable DisplayPort Deep Sleep; power cycle monitor to clear the scaler register. |
| Signal drops out when booting past BIOS into Windows | Windows DWM or graphics driver failing link training at target refresh rate | Windows Display Settings | Boot into Safe Mode; lower refresh rate from 144Hz/240Hz to 60Hz; reinstall GPU drivers. |
| “No Signal” after GPU upgrade or on older graphics cards | Monitor DP 1.4/DSC mode incompatible with GPU firmware (e.g., GTX 900/1000) | ASUS OSD > System Setup | Downshift DisplayPort Stream in OSD from DP 1.4 to DP 1.2; apply NVIDIA DP firmware fix. |
| Monitor power LED amber/white, but screen stays black | Latched flea power in internal capacitors holding scaler in a frozen state | AC Power Adapter / DC Jack | Perform a 60-second power drain on both the monitor and PC power supply. |
| Signal drops randomly or PC fans twitch when turned off | Non-compliant DisplayPort cable back-feeding $3.3text{V}$ power via Pin 20 | Physical Cable Interface | Replace with an official VESA-certified DP cable featuring an isolated/disconnected Pin 20. |
1. Execute a Cold Scaler Flea-Power Drain (Monitor & GPU Reset)
ASUS monitor scalers remain powered via $+5text{VSB}$ standby rails even when the display is switched off with the front power button. If the scaler’s internal microcode deadlocks during an unhandled resolution or refresh rate shift, it remains trapped in an error loop until electrical capacitance is completely discharged.
[ASUS Monitor Power Cycle Workflow]
 └── Disconnect DisplayPort Cable from BOTH Monitor & GPU
      └── Unplug Monitor Power Adapter (or AC cord) from the Wall
           └── Press and Hold Monitor Power Button for 30 Seconds
                └── Leave Disconnected for 5 Minutes ──► Reconnect & Power On
Turn off the PC and the ASUS monitor.
Unplug the DisplayPort cable from both the back of the monitor and the graphics card.
Unplug the monitor’s power cable directly from the wall outlet (and disconnect the barrel plug from the back of the monitor if using an external power brick).
Press and hold the physical Power button (or directional joystick power toggle) on the ASUS monitor for 30 seconds. This bleeds residual voltage from the internal step-down capacitors and resets the scaler MCU.
Leave the monitor completely unplugged for 5 full minutes.
While waiting, press and hold your PC chassis power button for 20 seconds (with the PC power supply switched off) to clear the graphics card’s PCIe I/O buffer registers.
Reconnect the DisplayPort cable firmly at both ends.
Plug the monitor power cord back into a dedicated wall socket and turn on the monitor first, followed by the PC.
2. Disable “DisplayPort Deep Sleep” in the ASUS OSD
The single most frequent trigger for DisplayPort dropouts on ASUS ROG Swift, Strix, and TUF monitors is the DisplayPort Deep Sleep feature. Designed to comply with European energy regulations, this mode powers down the monitor’s AUX channel receiver when a signal is lost. Once in deep sleep, many PC graphics cards cannot generate a wake-up voltage pulse strong enough to trigger the scaler, leaving the monitor permanently unresponsive until manually unplugged.
[ASUS Monitor OSD Navigation (Using Rear Joystick)]
 └── Press Joystick to open Main Menu
      └── Navigate to: System Setup
           ├── DisplayPort Deep Sleep ──► [Set to OFF]
           └── HDMI Deep Sleep        ──► [Set to OFF]
If the screen is completely black and will not display the OSD menu, temporarily connect an HDMI cable between your PC and the monitor to bring the display up.
Press the 5-way navigation joystick on the back of the monitor to open the OSD (On-Screen Display) Menu.
Scroll down to System Setup.
Locate DisplayPort Deep Sleep and change it from ON to OFF.
Locate HDMI Deep Sleep and set it to OFF as well.
Scroll down to Power Indicator and ensure it is set to ON (this aids in diagnosing future power states).
Exit the OSD menu, disconnect the HDMI cable, and switch back to DisplayPort.
3. Adjust the DisplayPort Stream Version (DP 1.2 vs. DP 1.4 / DSC)
Modern ASUS gaming monitors ship with their DisplayPort ports configured to DisplayPort 1.4 or DP 1.4 + DSC (Display Stream Compression). If you are using an older graphics card, an integrated GPU, or an older driver stack that lacks Display Stream Compression handling, the monitor cannot establish link synchronization, resulting in a black screen.
[ASUS OSD Menu]
 └── System Setup > DisplayPort Stream
      ├── DP 1.1 ──► Legacy 1080p / 60Hz Compatibility
      ├── DP 1.2 ──► Maximum 1440p 144Hz / 4K 60Hz (High Stability)
      └── DP 1.4 / DSC ──► High Refresh 4K / HDR (Requires Modern GPU)
Open the monitor’s OSD Menu.
Navigate to System Setup > DisplayPort Stream (on some models labeled as DisplayPort Version or DP Capability).
Switch the mode:
If currently set to DP 1.4: Change it to DP 1.2. This disables DSC requirements and limits the bus to standard HBR2 link speeds, which immediately clears signal issues on cards like the NVIDIA GTX 900/1000 series or AMD RX 400/500 series.
If using modern RTX 30/40/50 series or RX 6000/7000+ series: Verify it is set to DP 1.4, but toggle off DSC if running at standard 1440p resolutions.
Manually force the input channel: Go to Input Select in the OSD and choose DisplayPort directly, rather than leaving it on Auto Detection (which can timeout before link training completes).
4. Eliminate Pin 20 Power Feedback and Cable Attenuation
Low-quality or non-VESA compliant DisplayPort cables frequently cause signal dropouts due to either physical bandwidth degradation or dangerous electrical bridging on Pin 20.
[DisplayPort Pin 20 Hazard Diagram]
 Monitor Port (Pin 20: 3.3V) ════[Standard Non-Compliant Wire]════► GPU Port (Pin 20: 3.3V)
                                       │
                                       ▼
             [PARASITIC VOLTAGE LOOP: SHUTS DOWN GPU DISPLAY PHY]
The Pin 20 Fault: The DisplayPort specification reserves Pin 20 strictly for supplying $3.3text{V}$ power to active inline accessories (like fiber optic converters). Cheap passive cables wire this pin straight through. When both the monitor and the GPU inject $3.3text{V}$ into the same wire, it causes a reverse voltage bias across the GPU’s display controller, leading to cold-boot black screens, failed monitor waking, or system crashes.
Inspect the Cable: Use only cables marked with VESA Certified (DP8K, HBR3, or UHBR).
Cable Length Limits: Passive DisplayPort cables longer than 6.6 feet (2 meters) suffer severe signal attenuation at refresh rates above 144 Hz. If your monitor runs at 144Hz–360Hz, reduce cable length or switch to an active optical DisplayPort cable.
5. Restart Windows Graphics Pipeline and Clean Display Cache
If the DisplayPort handshake is dropped by the Windows 11 Desktop Window Manager (DWM) while changing resolutions or waking from Modern Standby, you can reset the graphics stack without restarting the PC.
Step A: Emergency Graphics Driver Key Combo
While the screen is black, press:
PlaintextWindows Key + Ctrl + Shift + BYou should hear a short system beep, and your PC keyboard LEDs may flash. This forces the Windows kernel to restart the display subsystem and re-enumerate all physical DisplayPort links.
Step B: Clear Windows Display Topology Cache
If Windows corrupted its multi-monitor registry cache, it may be trying to drive the ASUS monitor at an out-of-range timing:
Press
Windows Key + R, typeregedit, and press Enter.Navigate to:
PlaintextHKEY_LOCAL_MACHINESYSTEMCurrentControlSetControlGraphicsDriversLocate the following three subkeys:
ConfigurationConnectivityScaleFactors
Right-click each of these folders and select Delete.
Restart your PC. Windows will rebuild these keys from scratch using clean hardware defaults.
[Registry Editor (regedit)]
 └── HKEY_LOCAL_MACHINESYSTEMCurrentControlSetControlGraphicsDrivers
      ├── Configuration  ──► [DELETE KEY]
      ├── Connectivity   ──► [DELETE KEY]
      └── ScaleFactors   ──► [DELETE KEY]
6. Update Graphics Card Firmware & Reinstall Drivers via DDU
Certain generations of GPUs require a specialized firmware patch to negotiate modern DisplayPort 1.3/1.4 handshakes during UEFI boot:
NVIDIA Graphics Firmware Update Tool: If you are running an NVIDIA GeForce GTX 960/970/980/Titan or GTX 1060/1070/1080/Ti, these cards have a known UEFI bug that causes black screens over DisplayPort until Windows fully loads. Download and run the NVIDIA Graphics Firmware Update Tool for DisplayPort 1.3 and 1.4 Displays to update the card’s VBIOS.
Clean Driver Sweep (DDU):
Download the latest WHQL drivers for your GPU and the latest Display Driver Uninstaller (DDU).
Boot Windows into Safe Mode (hold
Shiftwhile selecting Restart > Troubleshoot > Advanced Options > Startup Settings > Restart > press4).Run DDU, select GPU, pick your vendor (NVIDIA / AMD / Intel), and select Clean and restart.
Once back in normal Windows, install the fresh driver package using the Perform a clean installation option.
If your ASUS monitor continues to report “DisplayPort No Signal” across multiple certified cables and ports, test the monitor with another host machine (such as a laptop with DisplayPort/USB-C Alt Mode). If the monitor still fails to detect a signal on DisplayPort while HDMI works normally, the physical DisplayPort female connector has loose internal ground pins, or the surface-mount DisplayPort receiver IC on the monitor’s internal AD (analog-to-digital) logic board has suffered an electrostatic discharge (ESD) failure, necessitating warranty repair or mainboard replacement from ASUS.